Preventative Maintenance (Dust Prevention & Cleaning)
Environment & Best Practices
While your PC will invariably build up dust over time, there are some things you can do to limit how much, how bad it gets, and how frequently you need to worry about cleaning (covered below). Excessive dust/debris will impact performance and potentially lower the lifespan of hardware, particularly fans, so it's cost effective for you to be aware and keep on top of it.
- Avoid your PC being placed directly on the ground.
It's natural that dust will settle on the ground, so if your PC is placed there, it will easily be taken into the PC via the intake fans.
Optimally, your PC would be placed on your desk, or a platform/shelf under the desk but still elevated from the ground itself. - Do not smoke/vape near your PC.
Smoke/vape residue has a large role in some of the worst debris that PCs commonly accumulate. The vapours end up combining with foreign debris and forming a sticky, hard to clean layer of grime that coats any surface it can find.
If you simply must smoke/vape near your PC, try to position a large fan to move the vapours out of an open window. It won't be perfect, but it's better than nothing. - Allow effective cooling for your PC.
Your PC needs to intake cool air, and exhaust hot air. Depending on your PC case and the hardware selections within, this isn't always done in the same way across all PC builds. While most intake from the front/side, and exhaust from the rear/top, it's also possible that the bottom is an intake, and the side could be an exhaust. If you want to know for sure, be sure to reach out to us and ask.
Ensure your PC has some room to intake & exhaust air: this means not stuffing it away into some small enclosed cupboard! - Use & maintain the dust filters.
Most chassis options have relatively easy to temporarily remove and clean dust filters. Whenever you can see a noticeable dust build-up, you should be cleaning any and all filters to ensure the system can breathe, which will help your fans spin only as fast as they need to for optimal temperatures to be maintained.
Dust filters are not perfect, but they should stop more dust than they allow into the system, so keeping them clean so they can do this is vital.
Cleaning dust filters once every 6 months is likely a fair interval, with a deeper clean (detailed below) perhaps still needed!
How to remove dust from your PC
It is considered good practice that about once every 12-24 months, you will want to clear out the dust that is in your PC as preventative maintenance to make sure your computer is running properly and ensure there are no significant build ups of dust and dirt. Or at least take a look to see if it's necessary!
Here are some tips for cleaning out the dust in your desktop. Please note that each computer will be a little different but the general process remains the same.
Note: If you're not comfortable doing this yourself, Evatech can help!
[WARNING] Before handling any internal components of your PC, ensure the PC is completely shutdown & disconnected from wall power.
NEVER open the power supply unit at any time as capacitors may still be holding hazardous levels of charge long after the cable is disconnected.
NEVER attempt to handle internal components while the PC is running.
Laying the PC down on its side is often the easiest way to work within a PC rather than leaving it standing where it may topple over.
- Wear a dust respirator mask if you want to avoid breathing in any dust or dirt you remove from your PC. Even if you don't think it will be too bad, nobody wants to breathe in dust, right?
- Move your computer somewhere well ventilated if possible, or at least open a window or door to let fresh air in the room. We'd prefer doing it outside so dust doesn't end up all over the room/building, but that has its own risks such as rain to consider.
- Remove the side and (if possible) the front panels of your case.
- Use a lint free cloth to clean the dust from any dust filters, as well as any obvious collections in the base of the case.
- Use a can of compressed air – because we don’t recommend trying to forcefully blow the air yourself – to clean any heatsinks like your CPU and graphics card cooler. Ensure that you are not getting too close to components, as compressed air can damage components like fan blades etc.
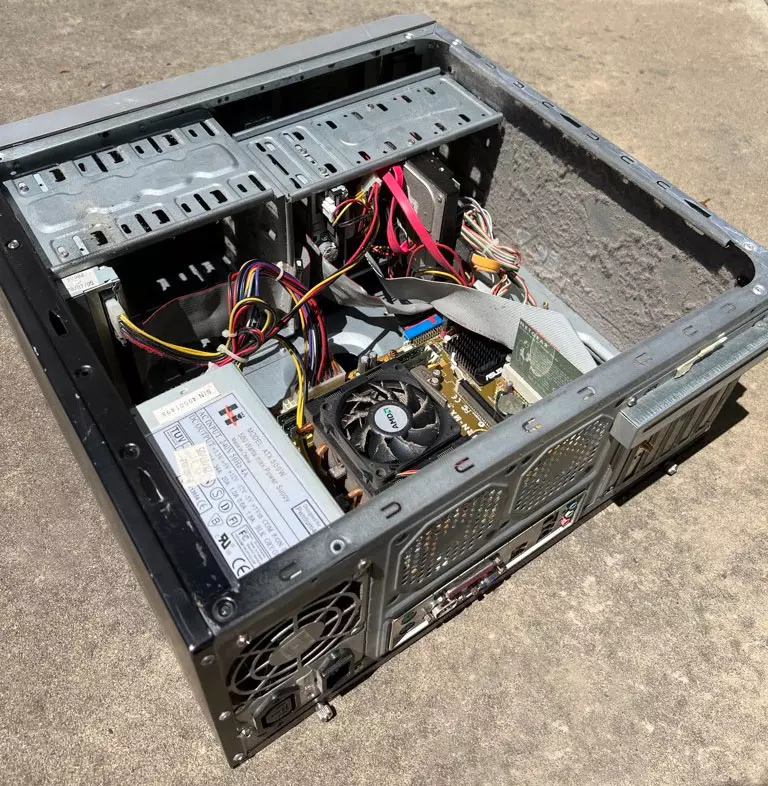 Here's an example of a PC that's just too dusty, even if it's old!
Need more help?
Check out this tutorial by Linus Tech Tips that is both helpful and amusing.
How to deep clean your PC
If you display your PC like a work of art as much as a functioning tool or gaming machine, then you might want to do more than give it a light dusting.
For that, we'd recommend removing everything from the case. That means redoing all the cable management, removing everything from the system, and putting it all back together not only technically correctly, but optimally correctly too. If that is too much or you don't know where to start – get in contact with us, the last thing anyone wants from a PC cleaning is to make matters worse and end up having to fork out hundreds or thousands on repairs or replacement parts.
Note: We still recommend an anti-static wristband when handling components. If you don't have one handy, periodically touch your PC case to ground yourself.
- Remove all of your components and lay them out on a non-conductive surface. If you remove your CPU heatsink/cooler (not strictly necessary) be aware that you will then need to completely remove and reapply thermal paste. So, be prepared for that.
- Use compressed air and a lint free cloth to clow and wipe any dust build up you can see. Pay particular attention to any crevices, plastic shrouds, and heat sinks. Thoroughly clean any dust filters as well. Some filters can be removed easily if that helps.
- To clean fan blades, hold them steady and wipe or blow each blade individually (but don't blow compressed air from too close! Fan blades are prone to snapping, especially on aged hardware).
- If there are any fingerprints or oily marks on anything, use cotton swabs and isopropyl alcohol or equivalent to wipe them clean. Make sure to leave them to dry before putting them back together and powering on.
- Although there might be some leftover dust in hard-to-reach places, we wouldn't encourage you to open up components further than disassembling the PC itself. Doing so can void warranty, not to mention you can break something that was in otherwise working condition.
There are certain components, like the interior of your PSU, that you aren't going to be able to clean effectively. Instead, we'd recommend using a can of compressed air with a long straw attached to give it a little blast to dislodge any stubborn dust. When you next turn it on, its own fan and natural airflow should blow any loosened dust out of the rear.
When you're finished cleaning, put everything back together. Take this opportunity to do a little cable management as it can help avoid dust build up by making for a cleaner passage of air through your system.
This video by JayZTwoCents covers all the basics of giving your PC a deeper clean:


 6 Mediterranean Circuit, 3173 VIC
 Monday - Friday 10am-6pm
 +61 (03) 9020 7017
 ABN 83162049596
 Evatech Pty Ltd